My Process
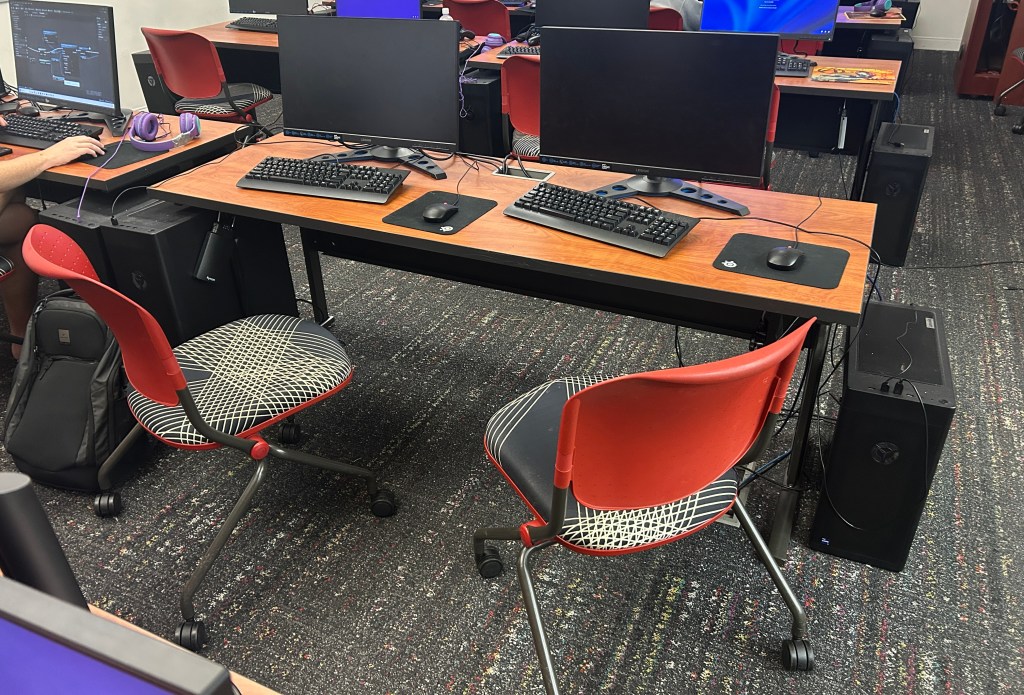
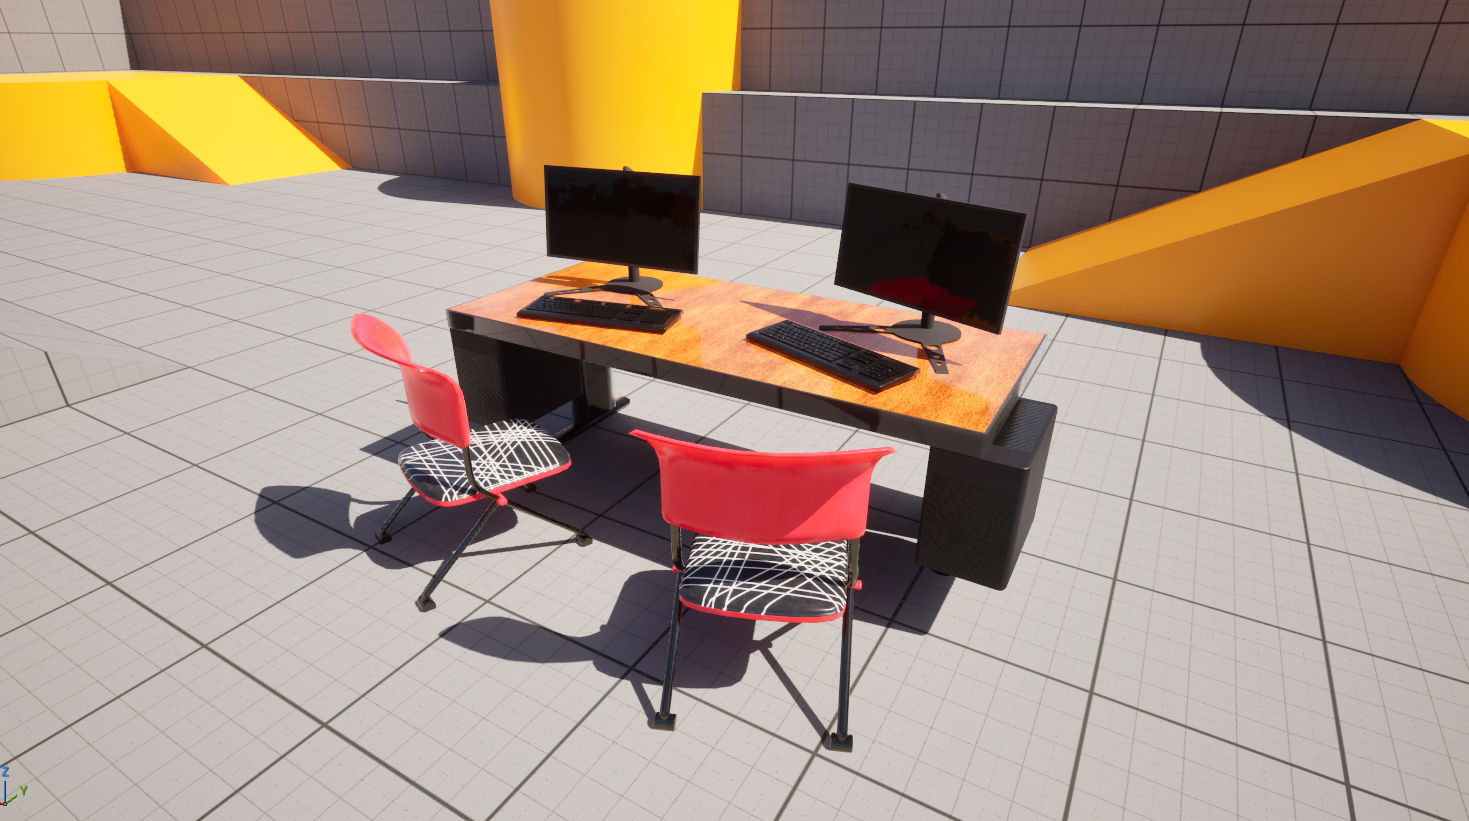
When I create 3D assets for my games, I look to my immediate surroundings and the places I’ve been for inspiration. Usually, this doesn’t end up being literal, but in some instances, it is very literal. The example above shows the chairs, desks and computers present in the High Point Game Lab, that I recreated in Blender and placed in Unreal. However, since I’d like to show the whole process with visuals instead of you just taking my word for it, I’m going to detail the creation of the Ghost model present in Stop Playing my Game!
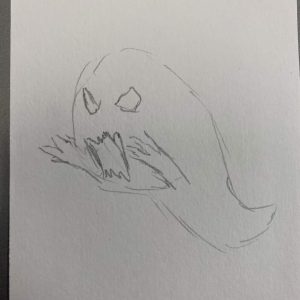
A reference, whether it be something I’m looking at or an image found online or a sketch, is always where I start. In this case, shown on the left was the concept sketch provided to me by the project lead, with the direction “something like this”. Given that, and the knowledge that the ghost is a hazard that penalizes your time and can phase through everything, I started trying ideas.
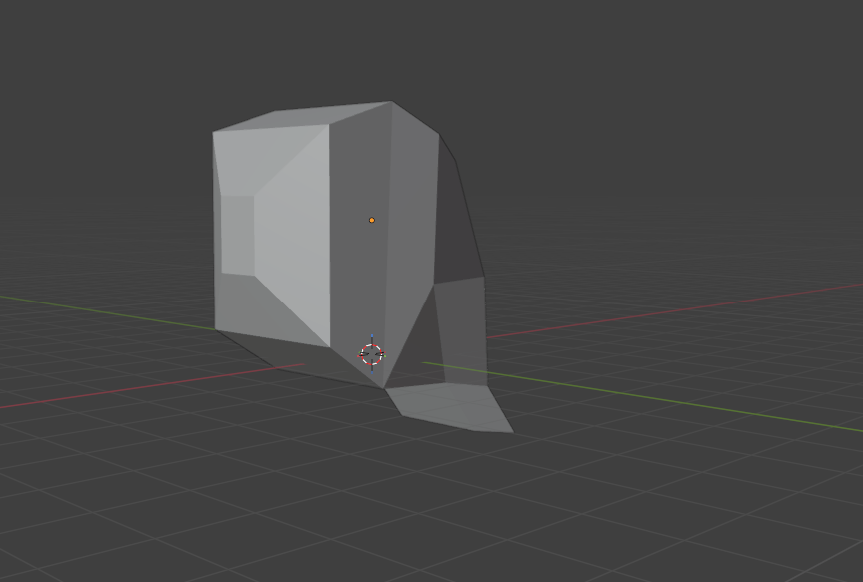
I started with a very rough block out of the shape I was going for, which for this looked about like this. I tend to always do this part very low poly, for ease of iteration, and because modifiers can always make it good later. The same goes for the arms, shown below.
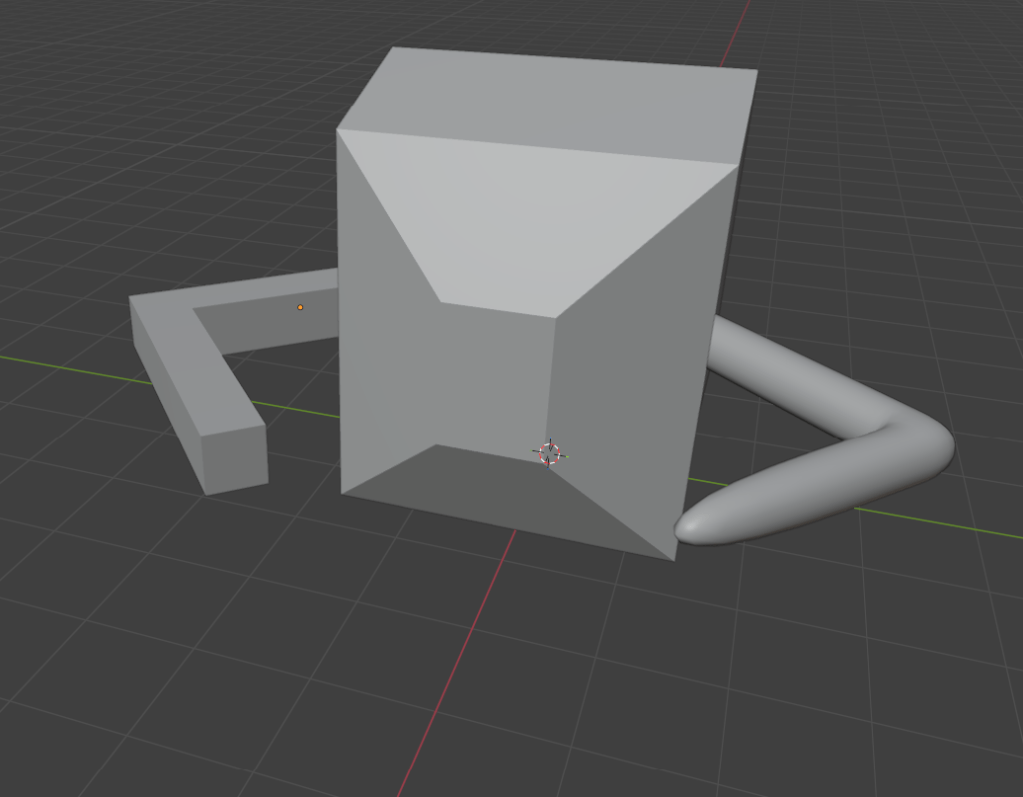
Also around this point in the process, I start experimenting with a more refined shape, shown for the arm on the right, to get closer to an end product. This is the part of the process that I usually redo a few times, to make sure that I will end up with a solid underlying mesh.
The redos with this particular case came mostly with the ghost’s fingers. I initially considered a very human looking hand, since I had previous experience modeling that and there are a billion and one walkthroughs dedicated to the subject. But, something about it just looked uncanny, and off somehow. Instead, I thought that taking a more surreal approach would do the trick, and it did.

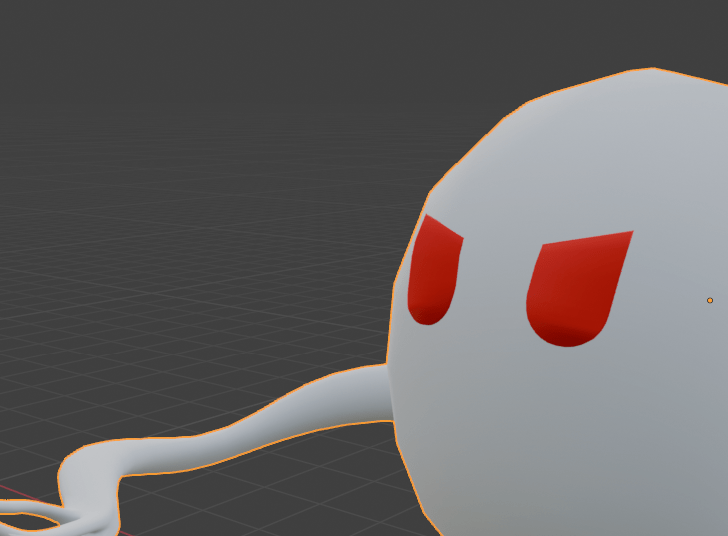
With the shape fully formed, I then switch to detailing and filling out the model to finish it out. I ultimately decided for this model that the eyes would suffice for the face, seeing as all the mouth designs ended up looking a little too goofy for my liking. Past that, the model for this case is game ready.
My Personal Favorites
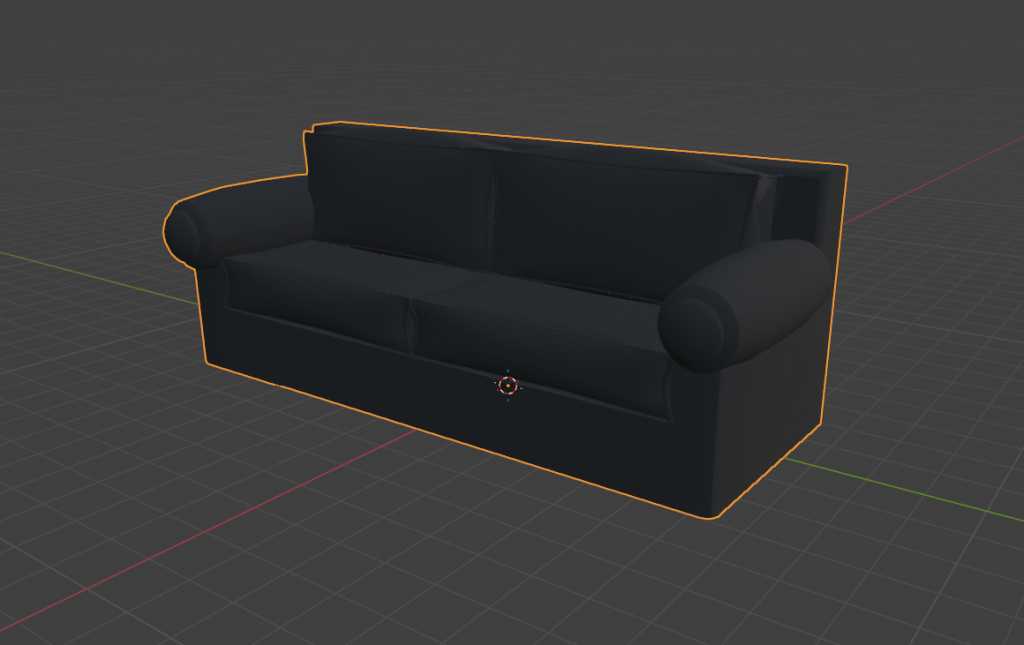
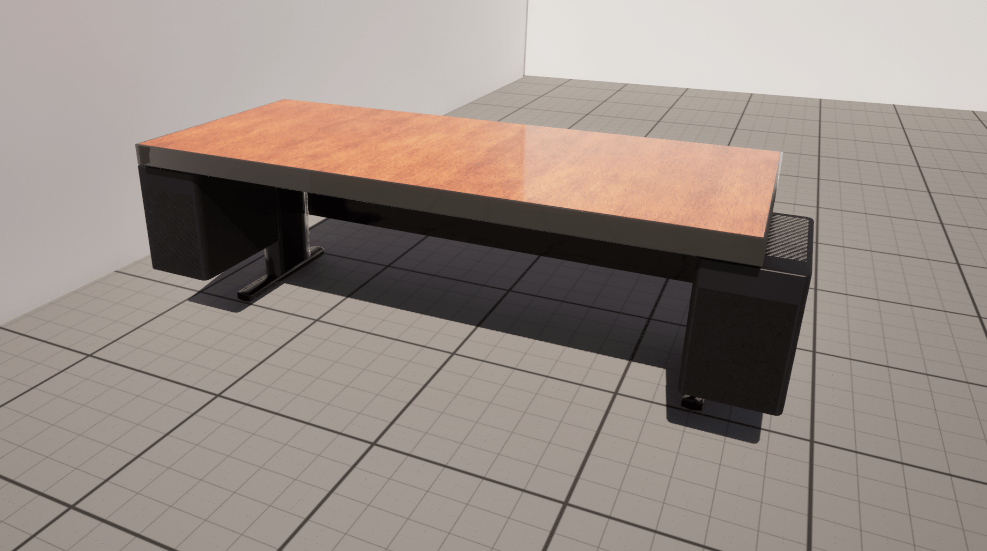
The Couch from Breaker-47 is probably the point at which modeling really clicked for me. I had been practicing and becoming proficient for close a little over 2 years at the time, and although I could feel my progress and felt good about my ability, it wasn’t until I made this that I really felt myself modeling on a higher level. Plus, I love the way it came it. I feel like I wanna fall asleep watching TV on this thing.
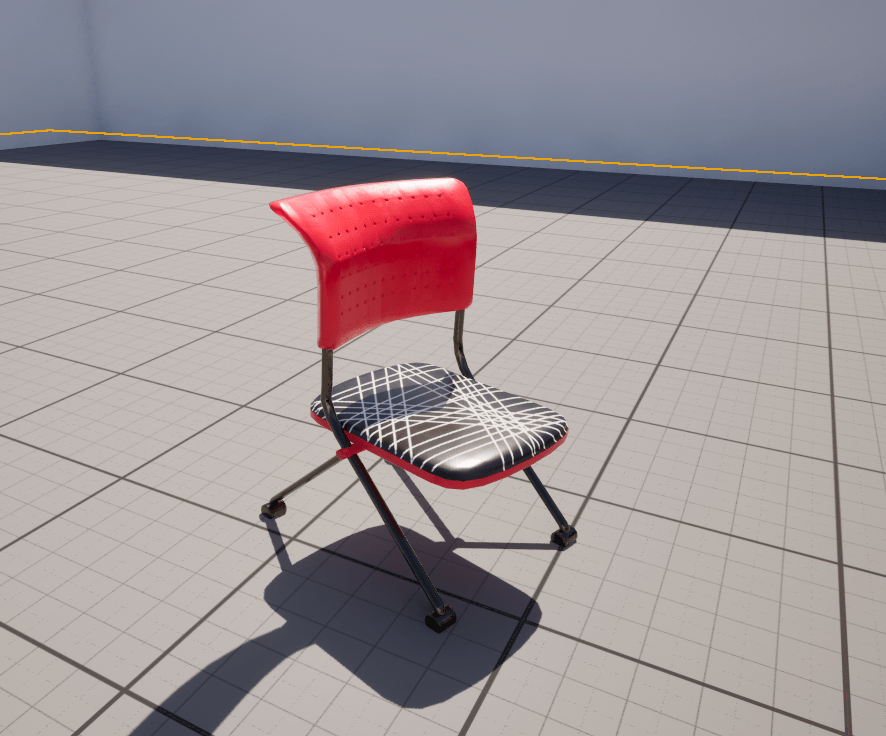
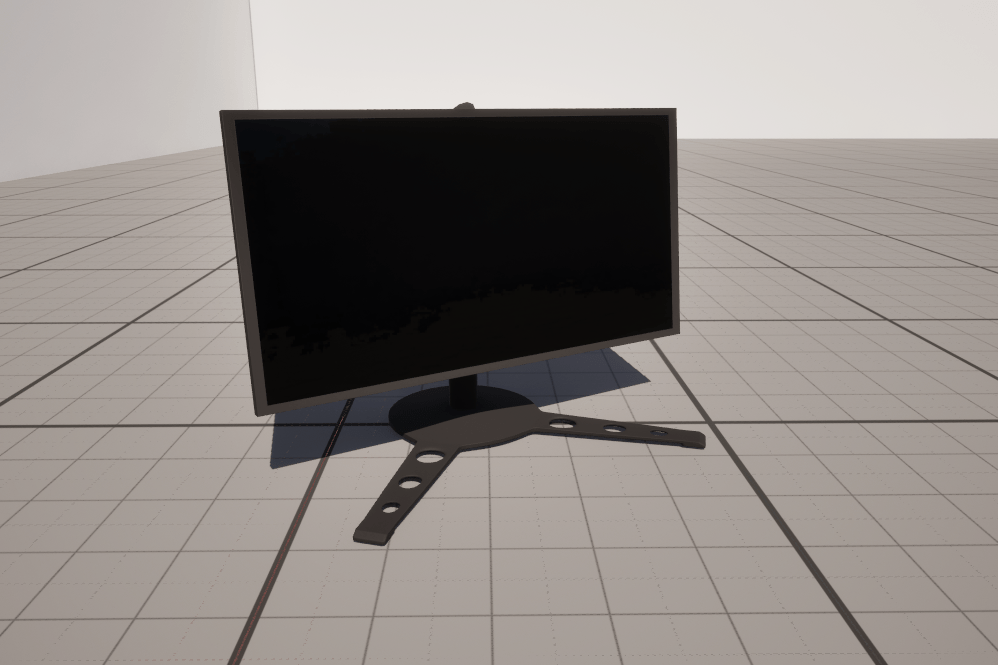
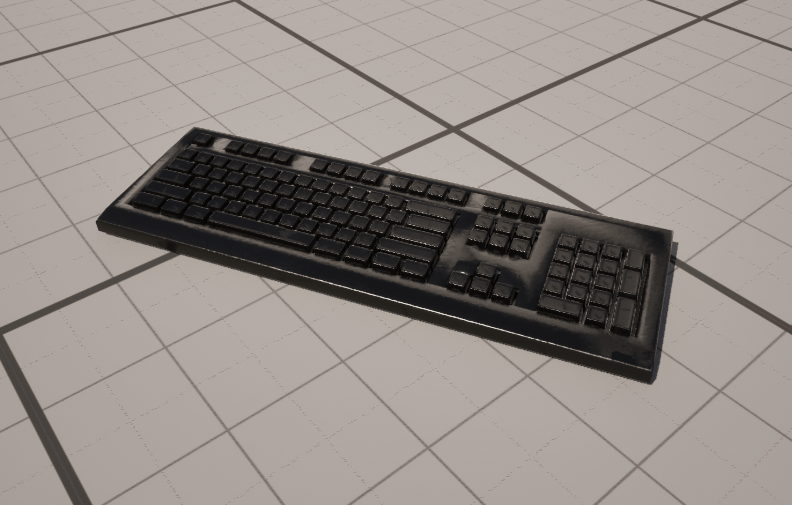
The Game Lab Asset Pack is one I’m really proud of. After quite a few smaller scale projects that were smaller in scope and lighter in tone, I hadn’t done a whole lot of High Poly modeling. None of the projects called for it. So to try my hand at it after a bit of break and have such good results felt wonderful. I’m especially proud of how the chair came out.
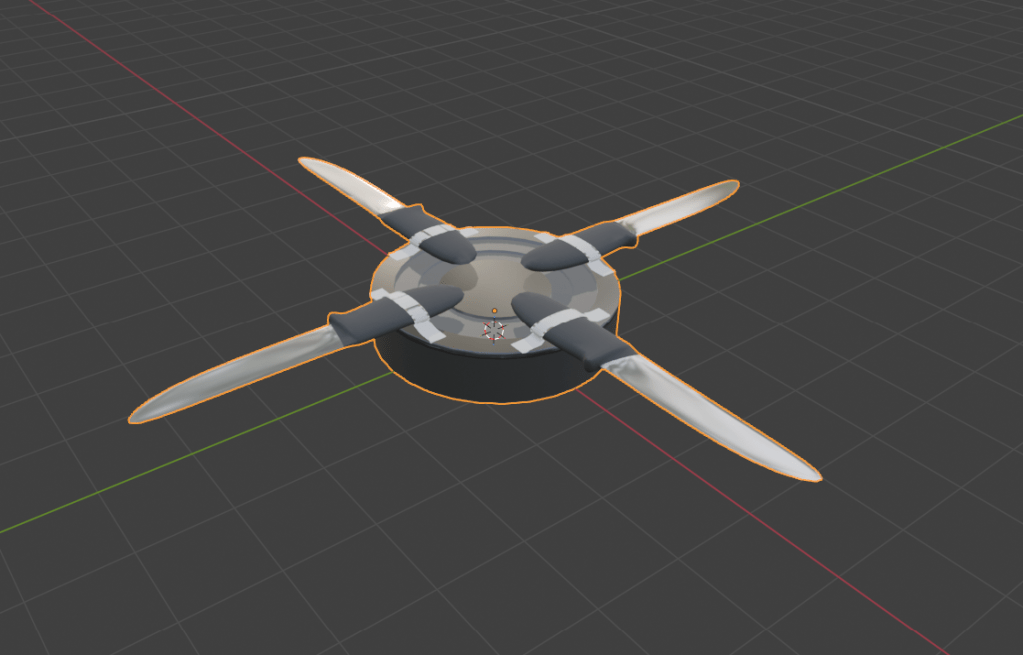
The aptly dubbed Knife Roomba is… actually, I don’t think I need to explain why I love this one. It’s this kind of stuff that makes me love my job so very much. In all seriousness, I am glad I was able to get the duct tape to look so good, and I’m happy with the knife shape I came out with.

The Bathroom Sink from Breaker-47 earns my appreciation and a spot here because it looks nice, is relatively low poly, and worked so well in the level I made it for (which you can read about in the level design page)
